環境
ラズパイ: Raspberry Pi 4B(4GB)
ストレージ: Micro SDカード(64GB)
OS: kali-linux-2021.2-rpi4-nexmon-64.img.xz
OSインストール
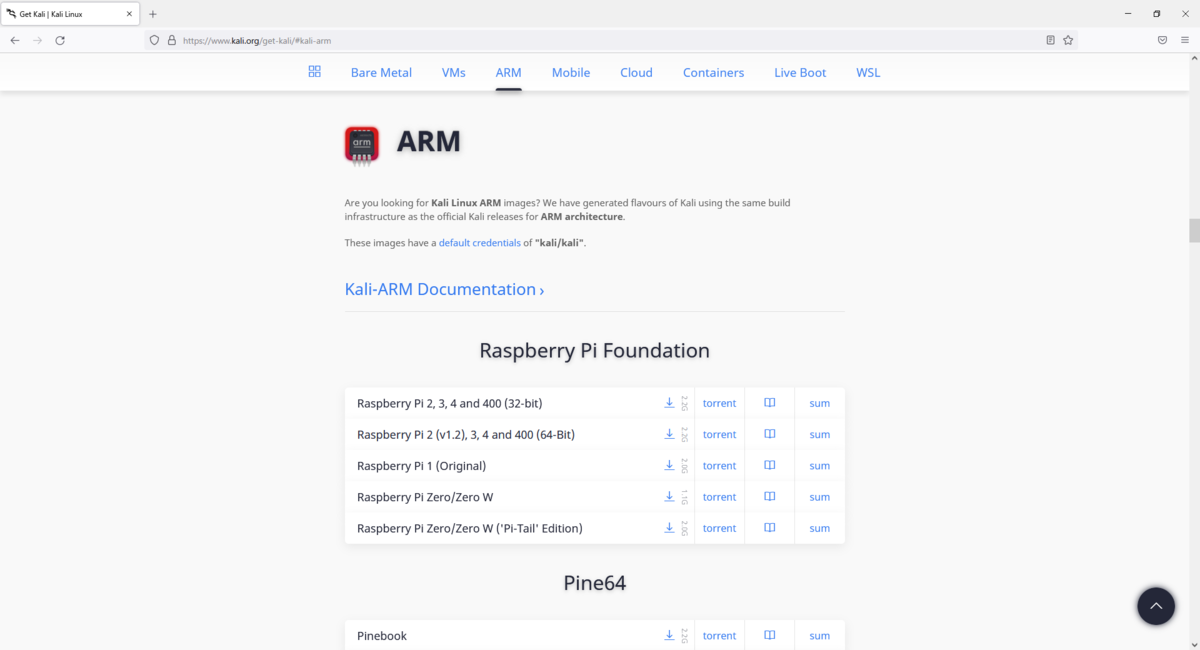
以下公式ページからダウンロードします。
https://www.kali.org/get-kali/
ARMを選択すると、ラズパイ用のOSイメージが見つかります。
ダウンロードできたら、Micro SDに書き込みます。
今回は手元にあったRufusを使いましたが、ラズパイ公式のRaspberry Pi Imagerを使ってもいけると思います。
書き込みが完了したら、Micro SDをラズパイに差し込んで起動します。
初期設定
IPアドレス固定
私のルータはDHCPを有効化してるので、LANケーブルを挿すと勝手にIPアドレスが割り振られます。
SSH接続するたびにIPアドレスが変わると面倒なので、まずIPアドレスを固定します。
最初だけキーボード・マウスとディスプレイを繋いで設定してもいいのですが、私はめんどくていつもIPアドレスを調べて最初からSSH接続します。
ルータのクライアント一覧から探そうとすると反映が遅くて表示されないことがあるので、Advanced IP Scannerを使って普段見慣れないIPを見つけ、SSH接続を試すことが多いです。
デフォルトユーザ名とパスワードはどちらも"kali"です。
eth0のIPアドレスを固定します。
$ sudo vi /etc/network/interfaces
auto lo
iface lo inet loopback

auto eth0
allow-hotplug eth0
iface eth0 inet static
address 192.168.10.201
netmask 255.255.255.0
gateway 192.168.10.1
dns-nameservers 8.8.8.8 8.8.4.4
ネットワークを再起動して上記設定を反映させます。
$ sudo systemctl restart networking
ユーザ設定
デフォルトのkaliユーザのパスワードを変更します。
$ sudo passwd kali
ユーザを追加します。
$ sudo adduser ramune
$ sudo usermod -aG dialout,cdrom,sudo,audio,dip,video,plugdev,netdev,bluetooth,lpadmin,scanner,kismet ramune
時刻設定
現在の状態を確認します。
$ timedatectl
               Local time: Thu 2021-09-23 10:55:39 UTC
           Universal time: Thu 2021-09-23 10:55:39 UTC
                 RTC time: n/a
                Time zone: Etc/UTC (UTC, +0000)
System clock synchronized: yes
              NTP service: active
RTC in local TZ: noタイムゾーンを東京に設定します。
$ sudo timedatectl set-timezone Asia/Tokyo
時刻とタイムゾーンが正しいことを確認します。
$ timedatectl
               Local time: Thu 2021-09-23 19:56:14 JST
           Universal time: Thu 2021-09-23 10:56:14 UTC
                 RTC time: n/a
                Time zone: Asia/Tokyo (JST, +0900)
System clock synchronized: yes
              NTP service: active
          RTC in local TZ: no
パッケージ更新
$ sudo apt update
$ sudo apt upgrade -y
Need to get 1071 MB of archives.
After this operation, 220 MB of additional disk space will be used.
E: You don't have enough free space in /var/cache/apt/archives/.
容量が足りないと言われました。64GBのはずですが。
dfコマンドで確認してみます。
$ df -lh
Filesystem      Size  Used Avail Use% Mounted on
/dev/root       9.3G  8.7G   91M  99% /
devtmpfs        1.9G     0  1.9G   0% /dev
tmpfs           1.9G     0  1.9G   0% /dev/shm
tmpfs           760M  1.1M  759M   1% /run
tmpfs           5.0M  4.0K  5.0M   1% /run/lock
/dev/mmcblk0p1  126M   74M   52M  59% /boot
tmpfs           380M  836K  379M   1% /run/user/1000
tmpfs           380M   60K  380M   1% /run/user/133
tmpfs           380M   56K  380M   1% /run/user/1001
確かに足りません。
パーティション拡張
Raspberry Pi のSDカードのパーティションを拡張する | SIBYL System
こちらのサイトを参考にMicroSDカードのパーティションを拡張します。
まずはfdiskコマンドを対話モードで実行
$ sudo fdisk /dev/mmcblk0
Welcome to fdisk (util-linux 2.36.1).
Changes will remain in memory only, until you decide to write them.
Be careful before using the write command.
パーティションテーブルを表示
Command (m for help): p
Disk /dev/mmcblk0: 58.94 GiB, 63281561600 bytes, 123596800 sectors
Units: sectors of 1 * 512 = 512 bytes
Sector size (logical/physical): 512 bytes / 512 bytes
I/O size (minimum/optimal): 512 bytes / 512 bytes
Disklabel type: dos
Disk identifier: 0x149c4436

Device         Boot  Start      End  Sectors  Size Id Type
/dev/mmcblk0p1        2048   262143   260096  127M  c W95 FAT32 (LBA)
/dev/mmcblk0p2      262144 20103167 19841024  9.5G 83 Linux
ここで/dev/mmcblk0p2のStartの値をメモしておきます。
今回は262144です。
パーティション2を削除
Command (m for help): d
Partition number (1,2, default 2): 2

Partition 2 has been deleted.
パーティション2が削除されたことを確認
Command (m for help): p
Disk /dev/mmcblk0: 58.94 GiB, 63281561600 bytes, 123596800 sectors
Units: sectors of 1 * 512 = 512 bytes
Sector size (logical/physical): 512 bytes / 512 bytes
I/O size (minimum/optimal): 512 bytes / 512 bytes
Disklabel type: dos
Disk identifier: 0x149c4436

Device         Boot Start    End Sectors  Size Id Type
/dev/mmcblk0p1       2048 262143  260096  127M  c W95 FAT32 (LBA)
新しいパーティションを作成
※First sectorの部分には先程メモした数字を入力します。
Command (m for help): n
Partition type
   p   primary (1 primary, 0 extended, 3 free)
   e   extended (container for logical partitions)
Select (default p): p
Partition number (2-4, default 2): 2
First sector (262144-123596799, default 262144): 262144
Last sector, +/-sectors or +/-size{K,M,G,T,P} (262144-123596799, default 123596799):

Created a new partition 2 of type 'Linux' and of size 58.8 GiB.
Partition #2 contains a ext4 signature.

Do you want to remove the signature? [Y]es/[N]o: y

The signature will be removed by a write command.新しいパーティションが作成されたことを確認
Command (m for help): p
Disk /dev/mmcblk0: 58.94 GiB, 63281561600 bytes, 123596800 sectors
Units: sectors of 1 * 512 = 512 bytes
Sector size (logical/physical): 512 bytes / 512 bytes
I/O size (minimum/optimal): 512 bytes / 512 bytes
Disklabel type: dos
Disk identifier: 0x149c4436

Device         Boot  Start       End   Sectors  Size Id Type
/dev/mmcblk0p1        2048    262143    260096  127M  c W95 FAT32 (LBA)
/dev/mmcblk0p2      262144 123596799 123334656 58.8G 83 Linux

Filesystem/RAID signature on partition 2 will be wiped.
パーティションテーブルの変更を保存して終了
Command (m for help): w
The partition table has been altered.
Syncing disks.
設定反映のため再起動
$ sudo reboot
resize2fsコマンドで容量を拡張
$ sudo resize2fs /dev/mmcblk0p2
resize2fs 1.46.2 (28-Feb-2021)
Filesystem at /dev/mmcblk0p2 is mounted on /; on-line resizing required
old_desc_blocks = 1, new_desc_blocks = 4
The filesystem on /dev/mmcblk0p2 is now 15416832 (4k) blocks long.
容量が拡張されました。
これでようやくapt upgradeできます。
$ df -h
Filesystem      Size  Used Avail Use% Mounted on
/dev/root        58G  8.7G   47G  16% /
devtmpfs        1.9G     0  1.9G   0% /dev
tmpfs           1.9G     0  1.9G   0% /dev/shm
tmpfs           760M  920K  759M   1% /run
tmpfs           5.0M  4.0K  5.0M   1% /run/lock
/dev/mmcblk0p1  126M   74M   52M  59% /boot
tmpfs           380M   56K  380M   1% /run/user/1000
リモートデスクトップ設定
たまにGUIで使いたい時があるので、xrdpをインストールします。
$ sudo apt install xrdp
$ sudo systemctl start xrdp
$ sudo systemctl enable xrdp
Windowsのリモートデスクトップクライアントで接続してみます。
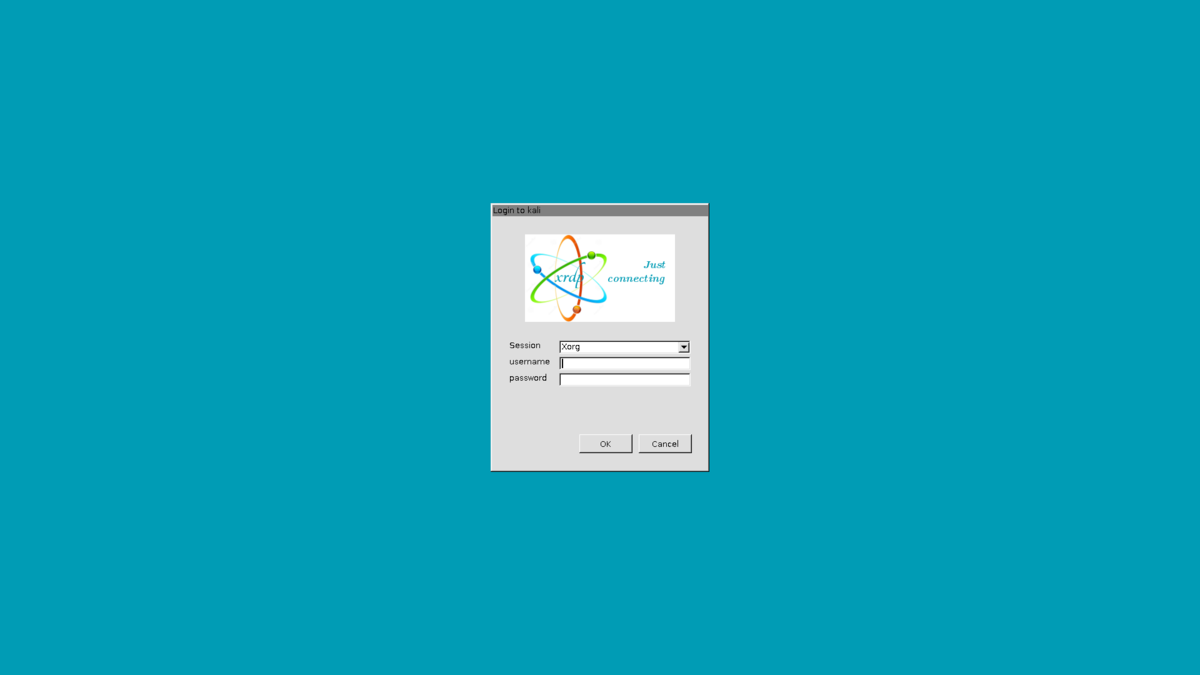
接続すると、こんなポップアップが出ます。
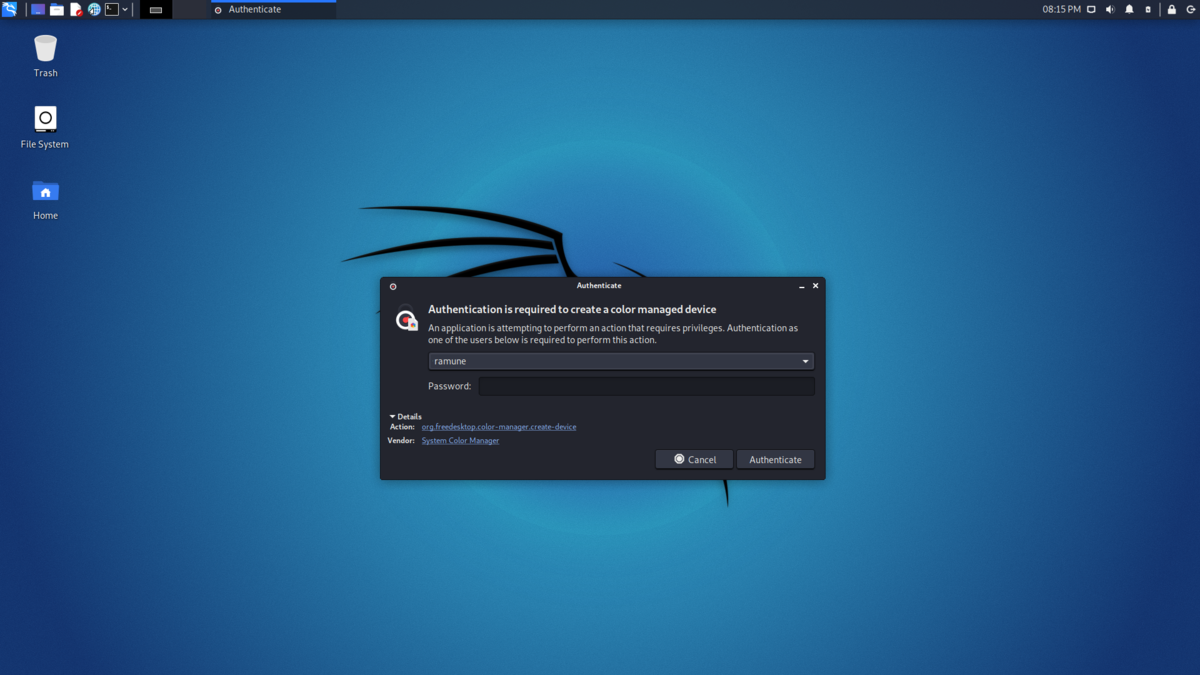
Authentication is required to create a color managed device
Action: org.freedesktop.color-manager.create-device
Vendor: System Color Manager
Linuxにリモートデスクトップで入った時に出るダイアログを消す #Linux - Qiita
こちらのサイトを参考に、上記ポップアップを無効化します。
Polkitのバージョン確認
$ pkaction --version
pkaction version 0.105
以下ファイルを作成
$ sudo vi /etc/polkit-1/localauthority/50-local.d/45-allow-colord.pkla
[Allow Colord all Users]
Identity=unix-user:*
Action=org.freedesktop.color-manager.create-device;org.freedesktop.color-manager.create-profile;org.freedesktop.color-manager.delete-device;org.freedesktop.color-manager.delete-profile;org.freedesktop.color-manager.modify-device;org.freedesktop.color-manager.modify-profile
ResultAny=no
ResultInactive=no
ResultActive=yes

[Allow Package Management all Users]
Identity=unix-user:*
Action=org.debian.apt.*;io.snapcraft.*;org.freedesktop.packagekit.*;com.ubuntu.update-notifier.*
ResultAny=no
ResultInactive=no
ResultActive=yes
polkitサービスを再起動
$ sudo systemctl restart polkit.service
ポップアップを無効化できました。
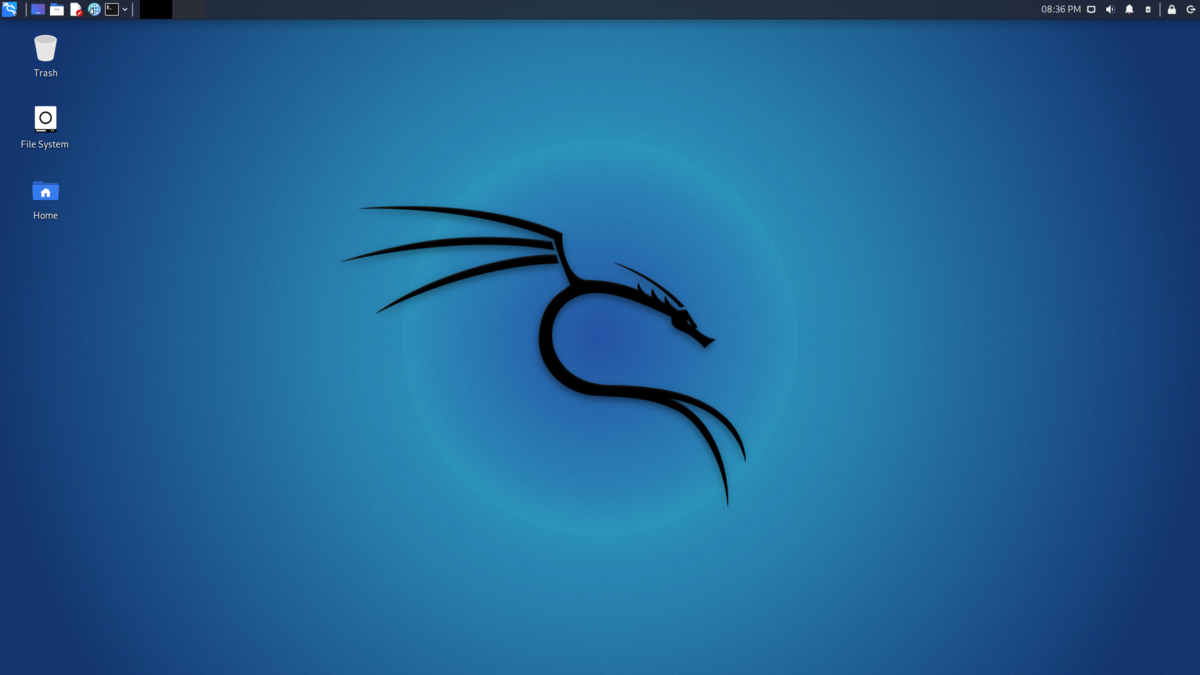
これで初期設定は一通り終わりました。